Love it or hate it, ‘pivot’ is the buzzword of the pandemic. Pivot refers to a significant change or survival tactic in a business, a household, a relationship, or eating habits.
In 1985, I made a pivotal decision to quit going to sea for a living, having worked on tugboats and research ships since 1977. What was next, I wasn’t sure, except that I itched to have a garden.
[Greetings! This organic gardening article was originally published in the Kodiak Daily Mirror, the hometown newspaper for Kodiak, Alaska. You can access the archive page for my past columns, written each week since 1986].
First, I needed dirt. Here I met a roadblock: “You won’t find much garden-variety soil in Kodiak,” said local experts.
To the library, I went. The word “compost” came up time and time again in reference books. I called the Cooperative Extension Service.
“Can you direct me… I want to learn how to make compost.”
“It will take five years to get finished compost,” the nice person said.
Five years? This was February. If I wanted to eat broccoli in June I needed to pivot. And so I began composting in the corner of my backyard. That was back in 1986…
A Google search for “composting” generates over one million results. So you’d think that watching YouTube videos and scouring through scientific papers would launch you into composting, right?
Sadly, no.
A few weeks ago, I posted a survey on Facebook and asked the following question: “When it comes to composting, what is your biggest challenge or frustration?”
Here’s a sampler of responses:
“…my pile no longer heats up like it used to.”
“We have a lot going on… But when we read about composting and try to slide it into a packed schedule, my brain goes, ‘tilt.’”
“I’d like to, but I live in a condo.”
By far the most common issue sounded like this: “We have a desire to compost, but we get overwhelmed by the process.”
Sound familiar?
In last week’s column, I promised to share Sir Albert Howard’s recipe for Indore composting, a process he developed in the 1920s that resulted in finished compost in a matter of weeks, not years. Indore, by the way, is a district in India. I came across Sir Albert’s method in my research back in 1986. My takeaway: If I could make compost during an Alaska winter, I could make it anytime, anywhere.
So can you.
Making compost is like making bread: Part science, part art. There’s no exact process, no hard and fast rules. Don’t let that scare you, though. Remember:
You don’t have to get it perfect. You just have to get it going.
That said, here are the four basic steps:
- Gather your ingredients.
- Mix ingredients thoroughly.
- Add water as needed.
- Turn frequently.
Now let’s go through the steps, one by one.
1. Gather your ingredients
Forget greens and browns and complicated ratios. Start thinking like bacteria and fungi and what they need to survive: Food, water, air. Give them what they need and guess what? Your compost heats up and breaks down.
No single ingredient is right by itself. Would you be able to survive just eating kale? When the materials in a heap present good nutrition to the bacteria and fungi, they work quickly. Like us, they need protein and carbs. Protein, found in nitrogenous stuff like grass clippings and manure, and carbs (for energy), as in straw, cardboard egg cartons, and leaves. And that’s just the tip of the iceberg. You might enjoy my list called, “220 Things You Can Compost.”
In practice, the precise amount of nitrogen and carbohydrates is not as important as long as the pile heats up. A general guideline is one part nitrogen to three parts carbs. Then let experience teach you. That’s the artistic part of making compost.
To gather materials, grab some buckets, heavy-duty garbage bags, a rake, and a shovel and go on a treasure hunt. Kodiak is loaded with compostables. Here’s one of my recent recipes:
- Leaves
- Grass clippings
- Coffee grounds
- Seaweed
- Eelgrass
- Food scraps
- Manure
- Old potting soil
2. Toss ingredients together
You’ll be making your pile all at once, not just tossing stuff in the corner of the yard in dribs and drabs as you feel like it. “That’s just a rubbish heap,” said a fellow composter in the U.K.
You need an enclosure that’s at least 3x3x3 feet square. (My first bin was made from wood pallets). As you add ingredients, dampen them with water.
Can a tell you a secret?
Secret #1: Mix ingredients uniformly; don’t just layer them.
Secret #2: As you build the pile, you want to break, bruise and groove the skin of the materials as much as possible to increase the number of entry points for bacteria and fungi.
3. Add water as needed
Moisten ingredients as you add them to the pile.
Compost materials should sparkle with moisture, not sag with sogginess.
Also, cover your pile to protect it from drenching rains.
4. Turn frequently
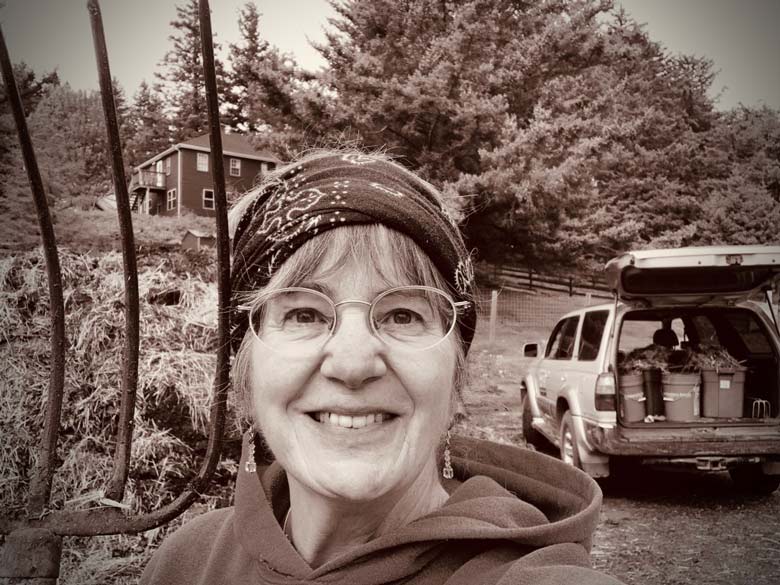
Secret #3: Complete and frequent turning of your compost exposes materials to the air and speeds up activity. Composting is akin to burning: Air is used up rapidly, especially in the beginning. So grab a pitchfork. Turning the pile is a good upper-body workout.
After you build the pile, here’s a typical schedule for turning it:
- Day 2: Turn the pile (Use the fork to break, bruise and groove as you go)
- Day 4: Turn it again.
- Day 7: Turn.
- Day 10: Turn.
Here’s another secret for you…
Secret #4: A long-stemmed compost thermometer is your best friend. Why? The best sign of a properly made compost pile is the temperature. Readings of our compost piles at Day 3 average between 145 to 160 degrees F. When it rises fast and maintains heat for a couple of weeks, your mixture is spot on.
Thermometers give a clear reading on the microbes’ happiness factor: If they like what’s happening, the thermometer will tell you. Another happiness indicator is the appearance of grey-white fungus that forms on materials near the center of the pile.
At each turning, the temperature drops and then rises again like a roller coaster. By Day 18 or so, the temperature will have gradually declined and leveled out to around 80 degrees. At that point, the pile is done.
Next week, I’ll cover the benefits of compost, how to use it (including your lawn), and how to compost when you don’t have a bin or the space to do it.
The last word: If your cabbages are puny, your raspberries don’t produce like they used to, your lawn looks dead come March, or your rhododendrons bloom infrequently, this is your opportunity to pivot. Motion breeds clarity, so gather your tools and start hunting for treasure.
++++++++++++++++++
About these garden columns… Slowly but surely I’m posting over 1,200 articles that you can access here. For personal updates, sign up for my newsletter, the Garden Shed: All Things Organic Gardening. As a thank you for signing up, you’ll receive a FREE PDF: 220 Things You Can Compost. (I’m also on Facebook and Instagram). To get in touch by email: marion (at) marionowenalaska.com


2 Comments
marionowen
December 23, 2020 at 8:32 PMHi Jennifer,
Good question about worms. And bravo for being interested in these tiny tillers.
Yes, the presence of worms in your soil is an indicator of a healthy garden.
If you have no works, it means that the conditions–to a worm–must be poor. That is, no moisture, sandy soil, no organic matter for them to eat will, or the presence of toxins, all prevent them from setting up shop in your yard.
That said, if you want to encourage or sustain a healthy population of worms there are a few things you can do to improve the conditions for them:
Reduce tilling your soil.
Leave organic matter on the surface.
Add manure and compost.
Ditch the chemicals.
Use an organic mulch to keep soil moist and cool.
Thing is, soil environment affects population. Simply adding worms to a poor environment won’t work. They need the right conditions to prosper.
Water. Earthworms need moisture to live since their bodies are 80% water, but because they breathe through their skin, too much water can drown them. (Pass the snorkels!)
Soil Texture. They prefer loamy soil. Overly sandy soil is abrasive and dries out too quickly.
Acidity. They prefer a neutral pH of 7 but will tolerate 5 to 8.
Temperature. Earthworms are cold-blooded so 50 to 60 degrees is optimum. Populations fluctuate naturally with the seasons. Adults die off in the summer and young ones hatch out in the fall. Over the winter they burrow deep below the frostline. Some species winter over as eggs and hatch out in the spring.
I hope this helps!
Jennifer Weiss
December 22, 2020 at 5:31 PMHi Marion,
thanks for this column… another gardening question as I dig my winter beds… why don’t I have worms?
It doesn’t seem to matter how deep I dig, I don’t see worms. I assume this is sad soil but do you have suggestions?